I have been searching for months to find the perfect set of industrial, metal lights to hang in our apartment. Every time I came across some lights, they were either too expensive or just not the right look.
Then, to my surprise, one day Alex called me while in Birmingham AL, telling me that one of his co-workers (Ed Jacobs) had some lights that he had purchased from a GAP store that was closing. Ed was moving to NY and was looking into finding a new home for his lights, of course I told Alex to bring them home!
Once home, Alex vigorously cleaned up the two lights and installed one in our office and the other in our dinning room. I couldn't be any happier! They are exactly what I had been looking for. Thanks Ed for giving us the lights and completing our apartment!
Here is what Alex did to prepare the lights:
1. Removed old light fixture
2. Measured and cut bar so that it would hang at the appropriate height. As well as drilled a hole through the center to hold the pin that would secure the ability to support the weight of the light.
3. Cut back cord and wires to appropriate length
4. Polished light with steel wool to remove the yellow clear coat and staining
5. Final Light once cleaned. . .
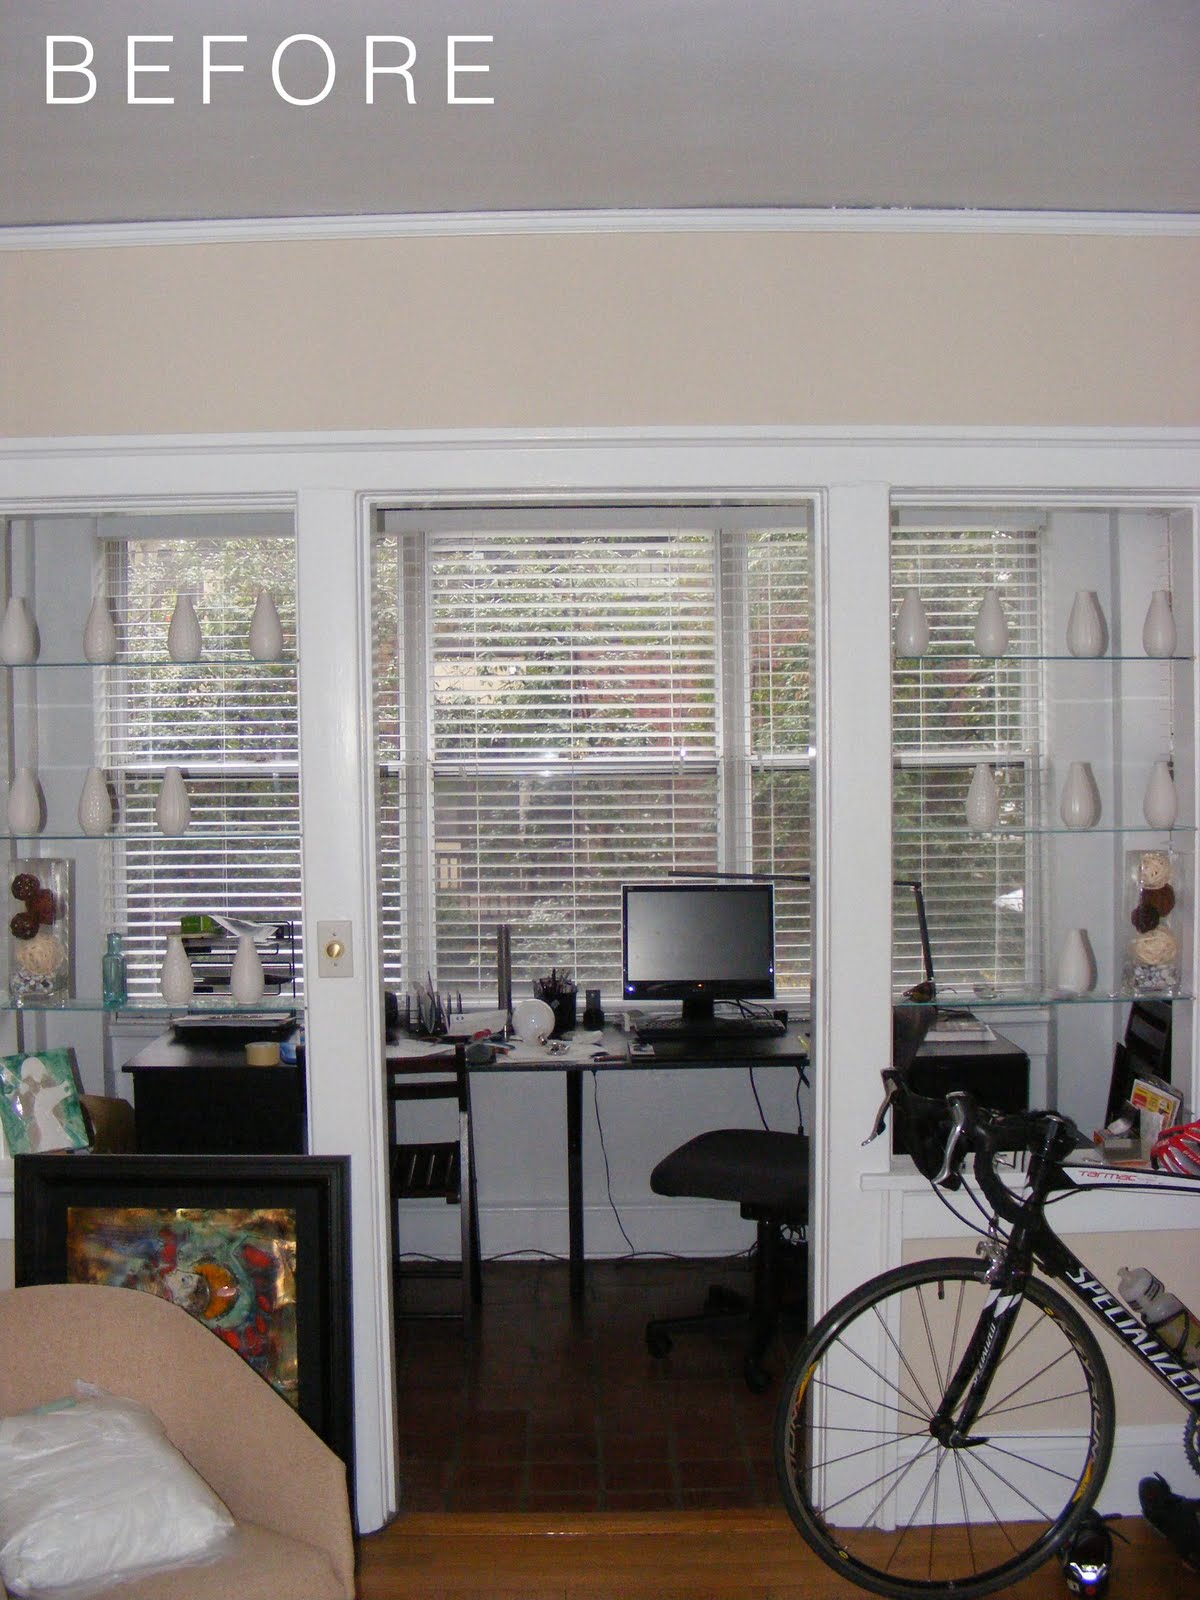
Here are the before and after pictures!


